
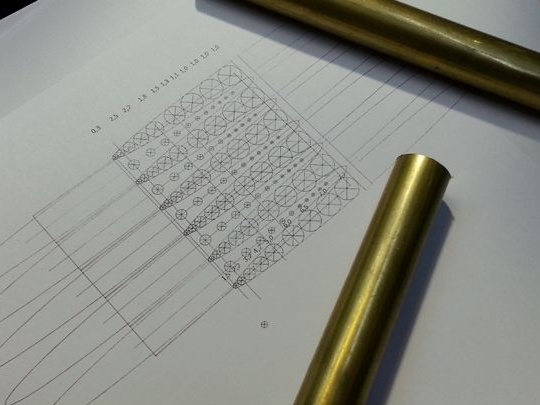
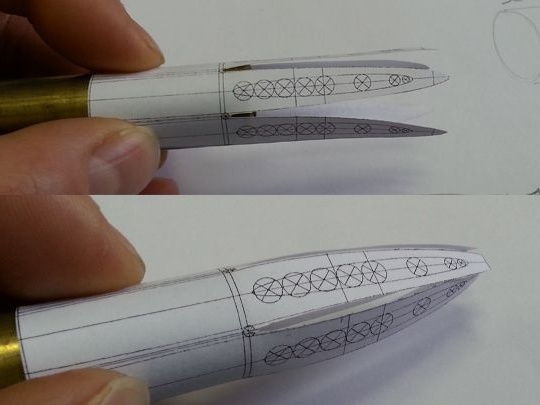
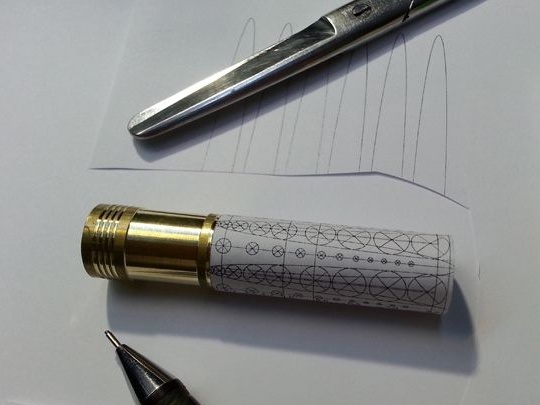
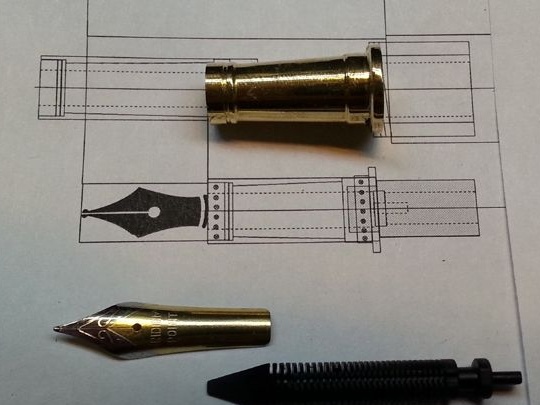
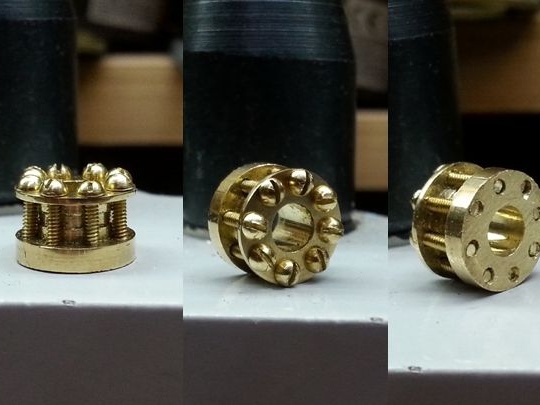
The work was carried out very complex and painstaking, many small parts and nuances, there are also drawings according to which the parts were made.
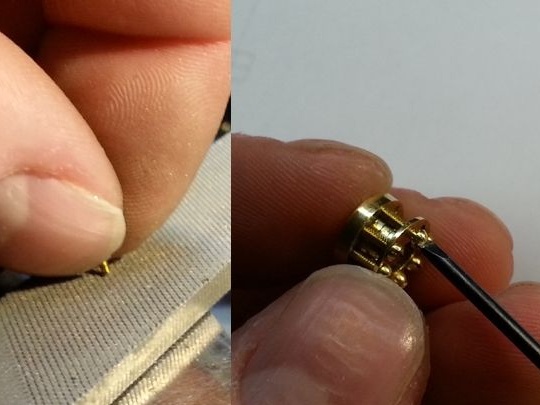
The author captured to the maximum the entire process of assembling the pen for his followers, so as not to miss important details in the design, so that everything will be clear and understandable.
And so, let's take a close look at what exactly the wizard needed to create the pen? And also we will analyze everything in stages.
Materials
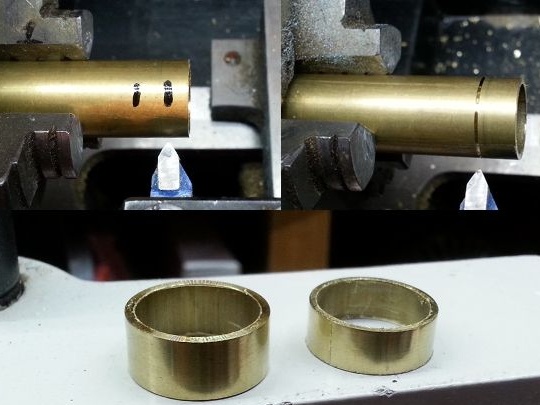
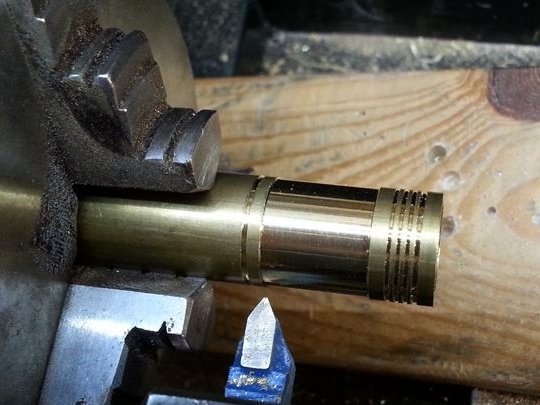
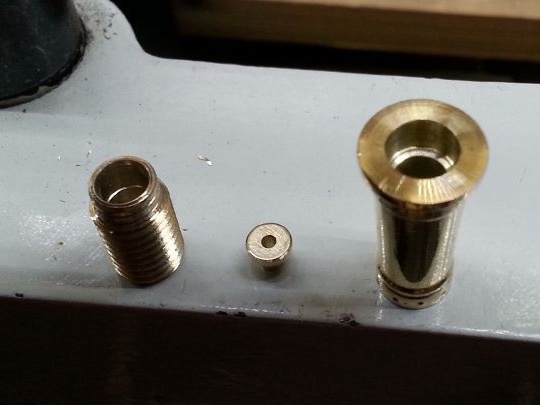
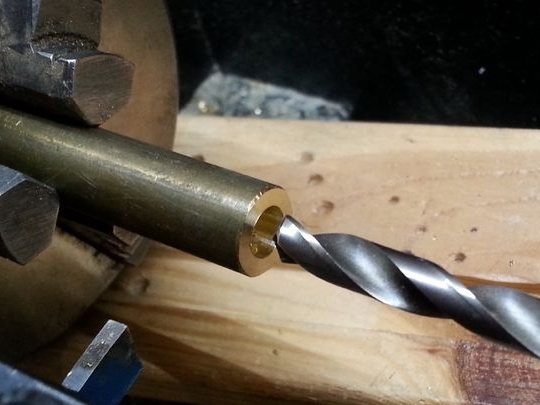
1. 16mm brass tube
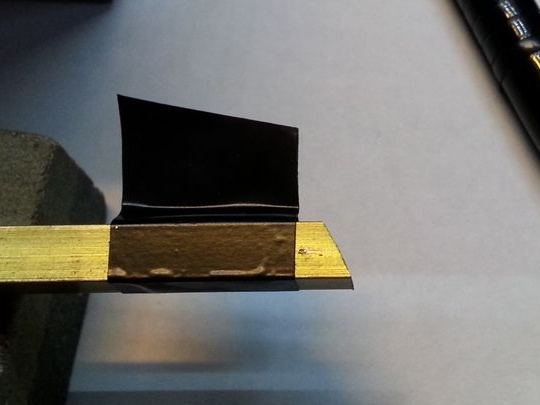
2. brass sheet 0.8
3. epoxy resin
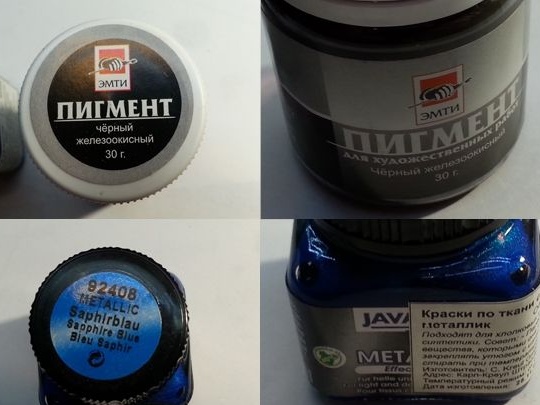
4. coloring pigment
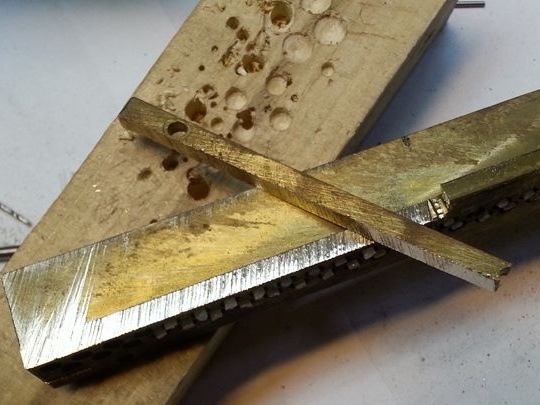
5. brass bar 8, 10, 12 mm
6. copper wire 1.8 mm
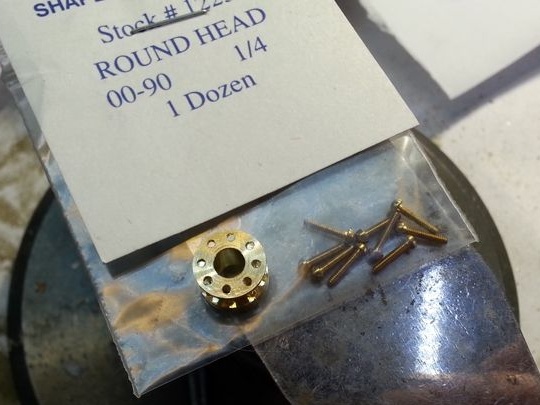
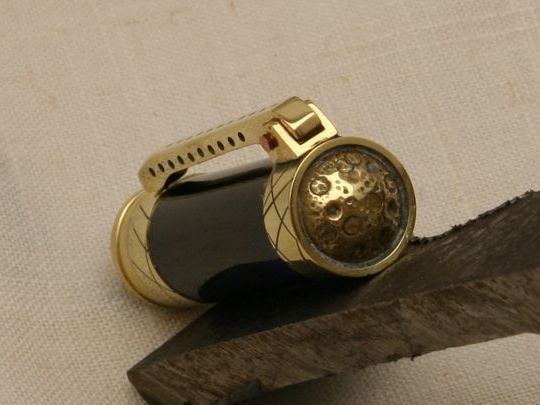
7.8 cogs M-1
8. brass tee
Instruments
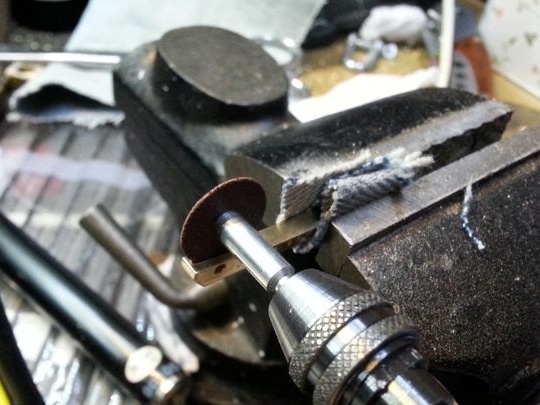
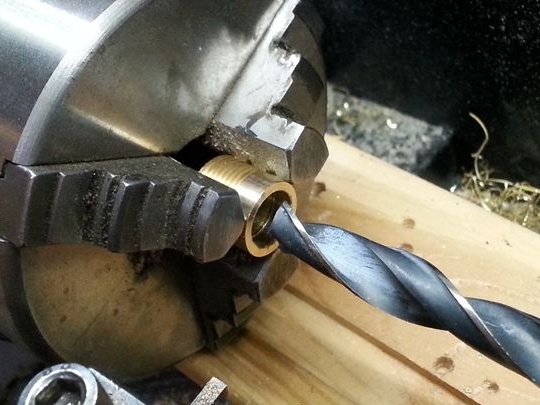
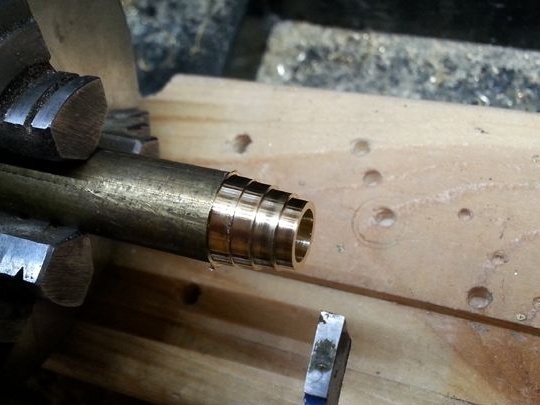
1. lathe
2. file
3. hacksaw
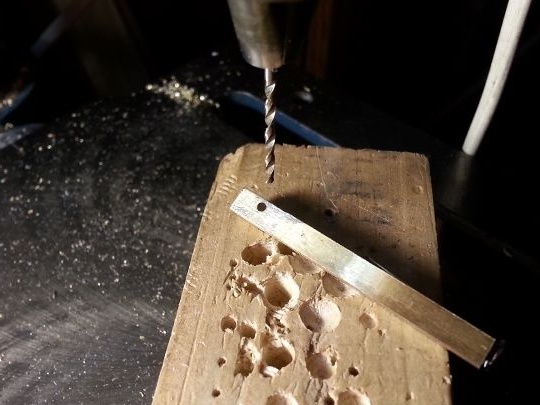
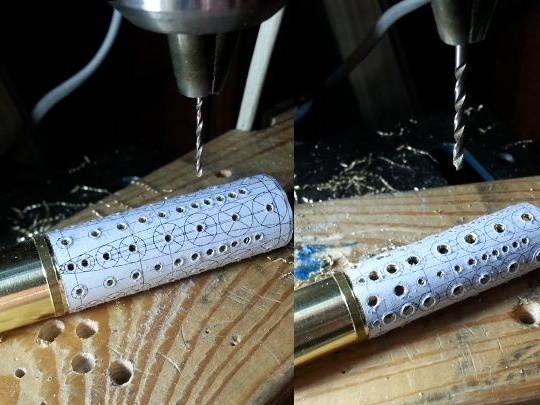
4. drill
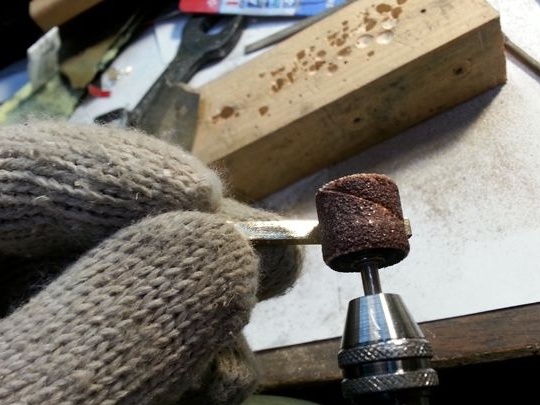
5. mini grinder
6. vernier caliper
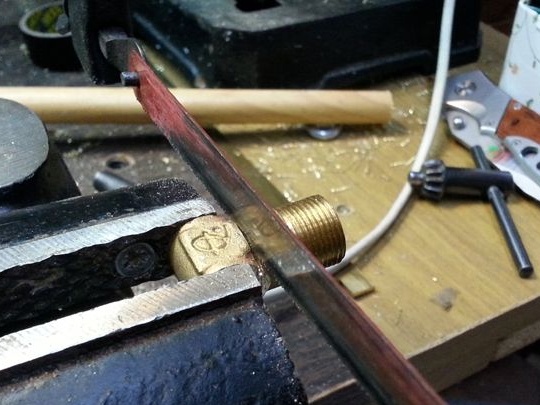
7. vise
8. anvil (jewelry)
9. velvet
10. sandpaper
11. GOI paste
12. marker
13. ruler
14. file
15. cutter
16. stick and container (for making epoxy)
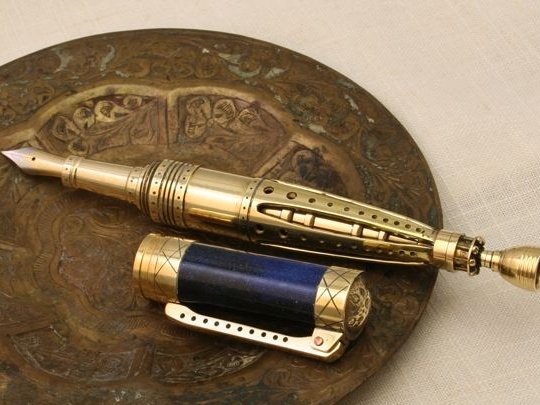
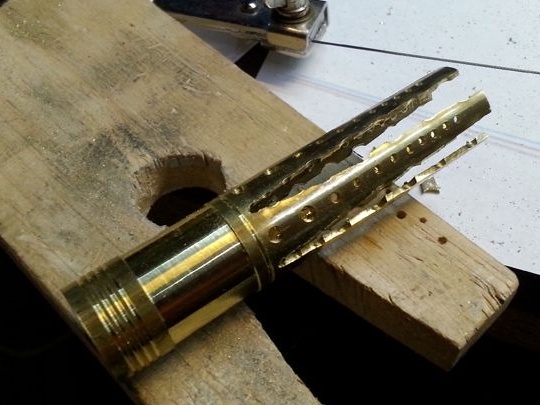
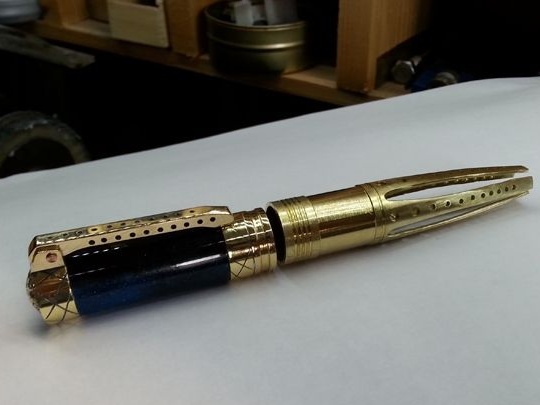
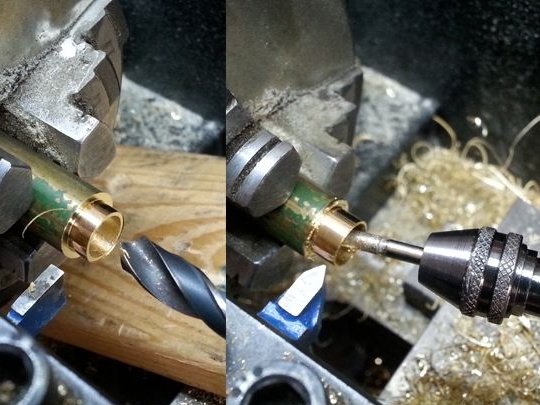
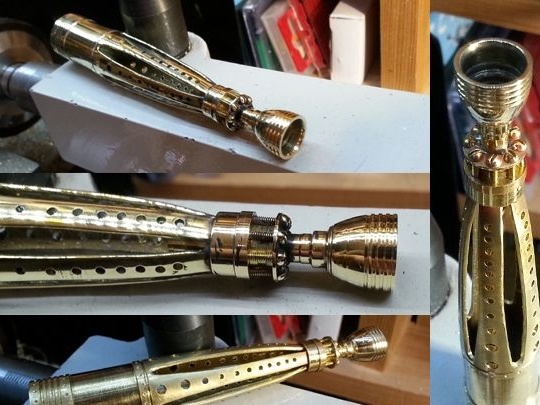
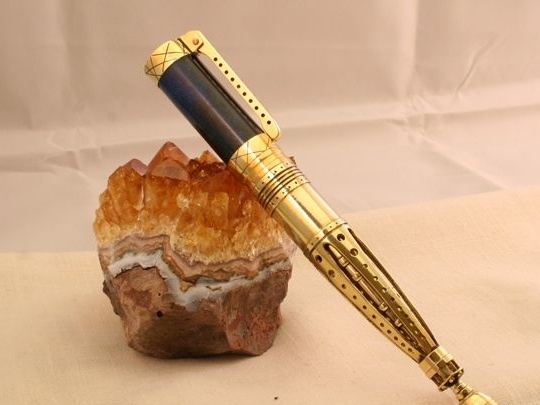
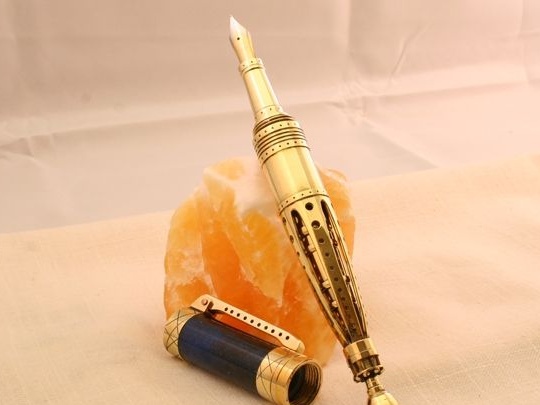
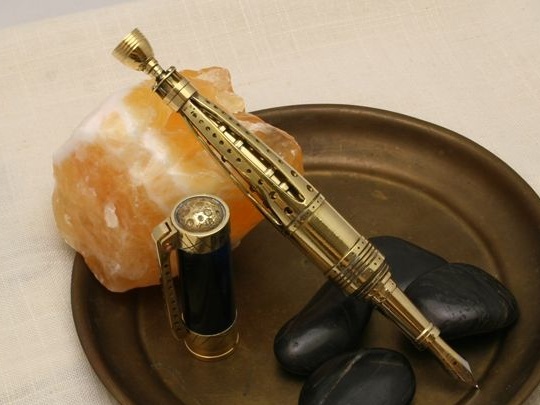
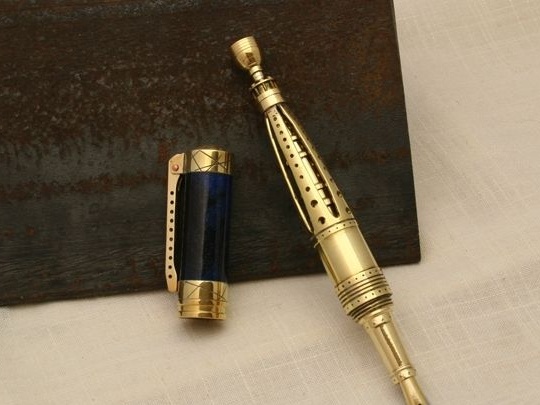
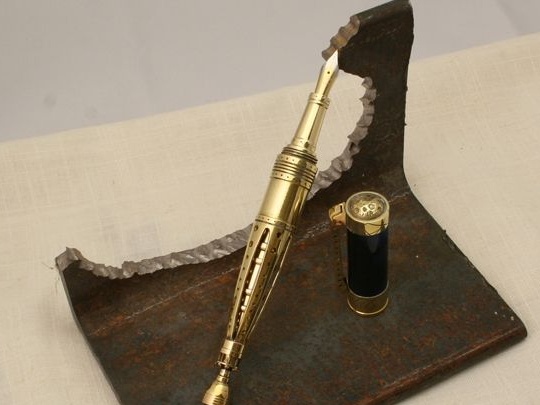
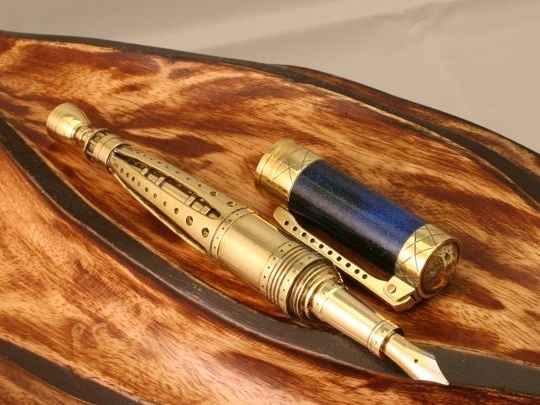
The process of creating a Steampen pen do it yourself.
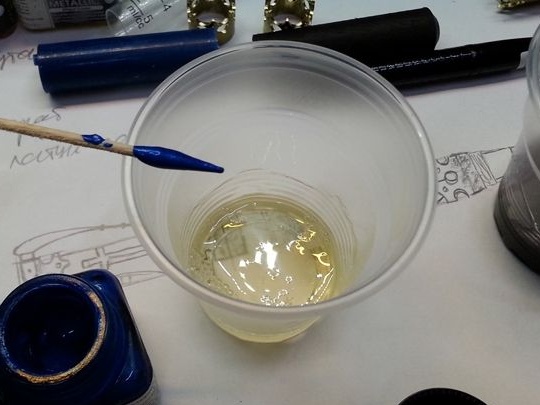
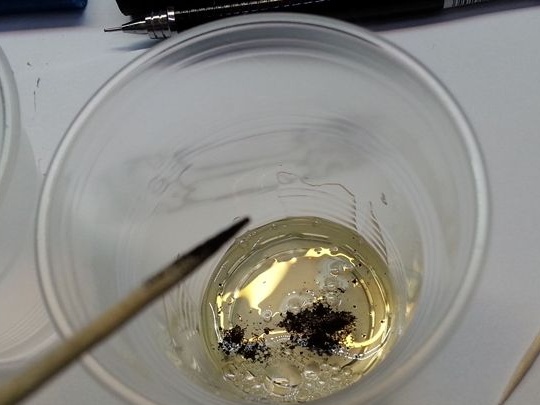
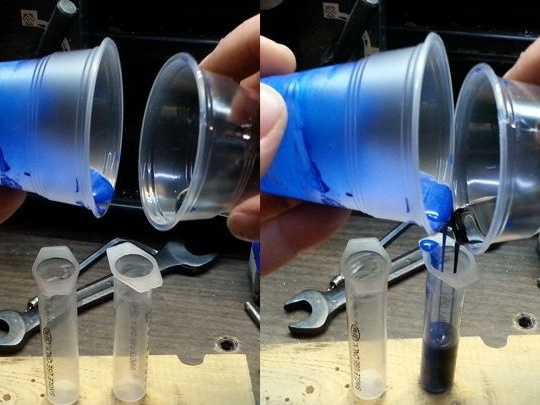
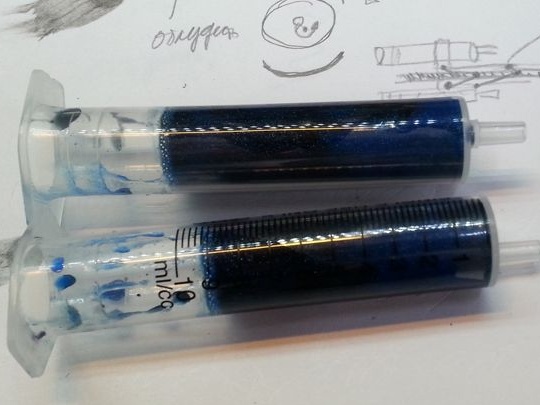
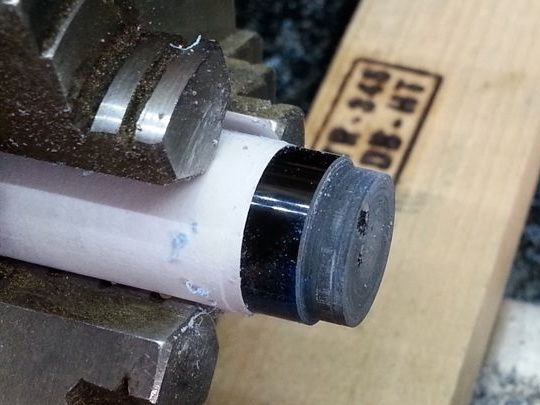
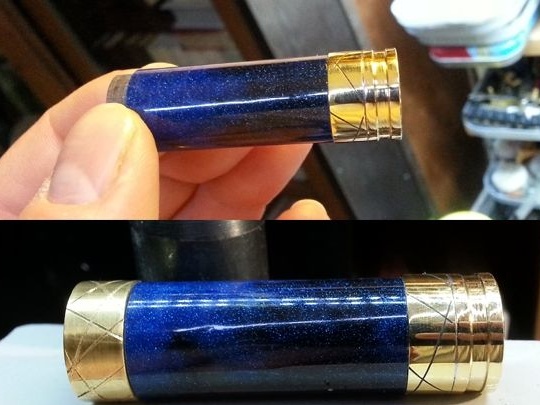
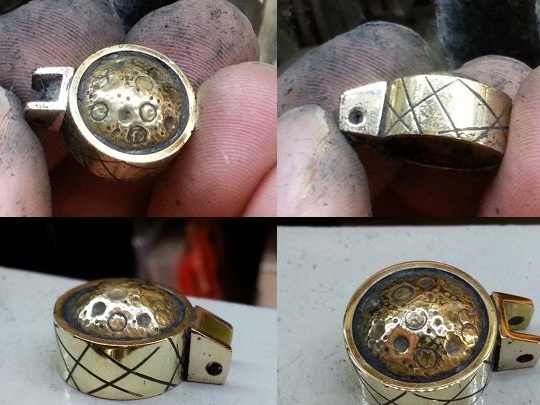
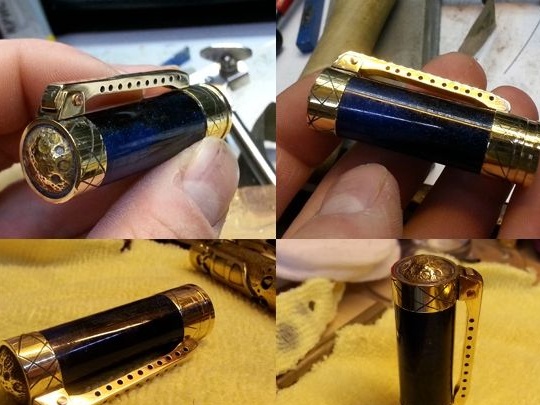
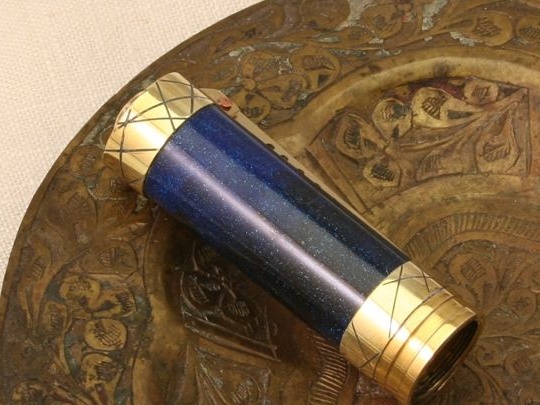
And so, first of all, the author begins to make a blank for the cap from epoxy, for which he takes a container (plastic cup) and adds resin to it, then he puts the pigment in color and mixes everything up to a homogeneous mass. After he takes another same glass and performs the same actions with only another black pigment. Further, the contents of the cups are poured smoothly and without sudden movements into a pre-prepared form (plastic syringe) and then left for a day in complete rest until the epoxy is completely dry.
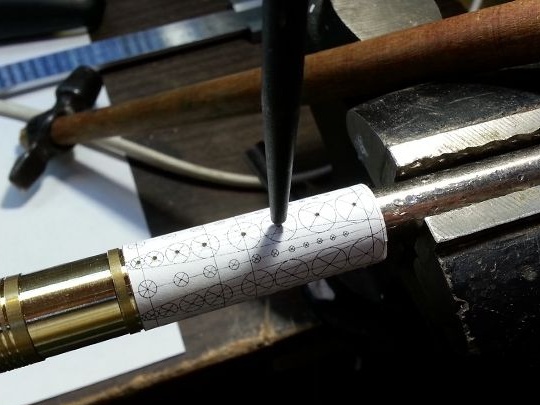
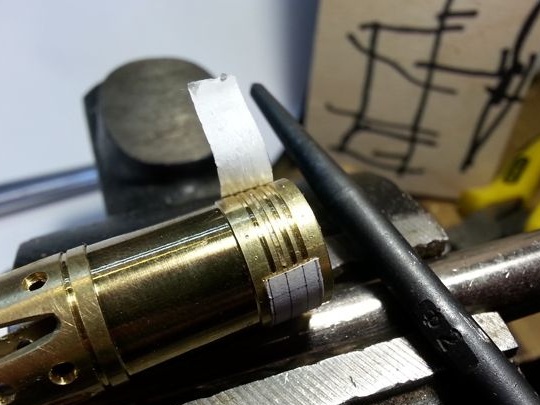
Now we will consider the whole process clearly, in all the details and details.
Here is the coloring pigment that the author used.
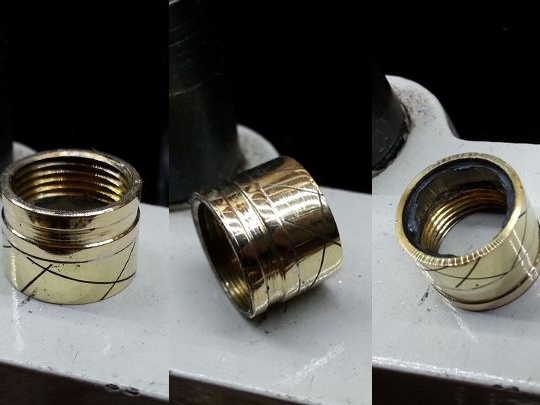
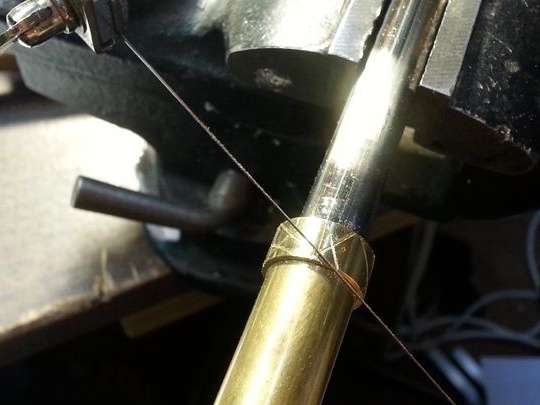
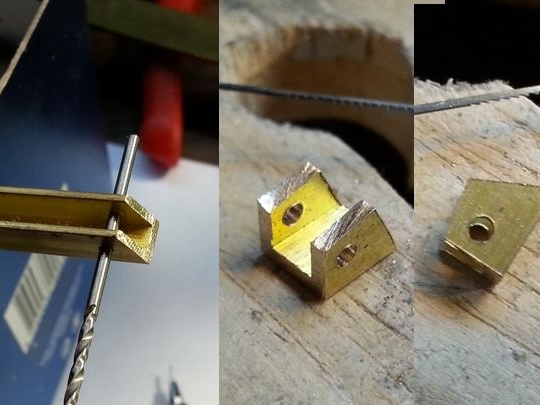
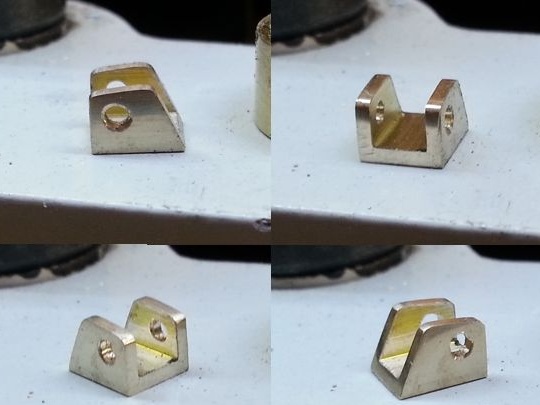
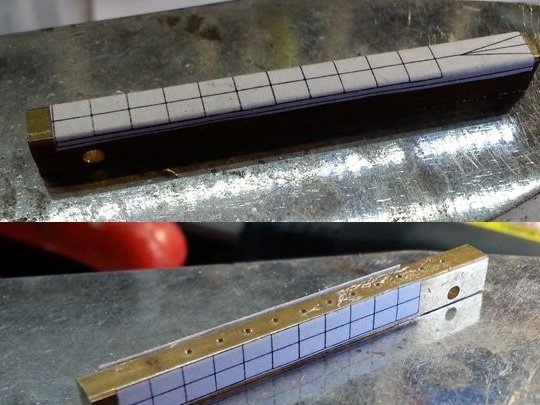
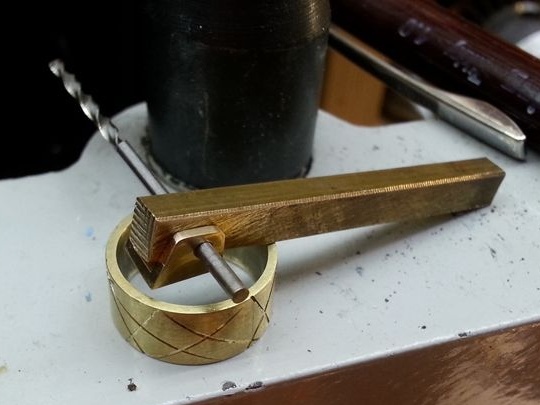
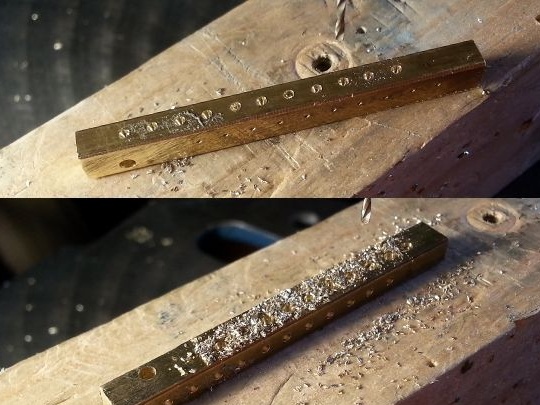
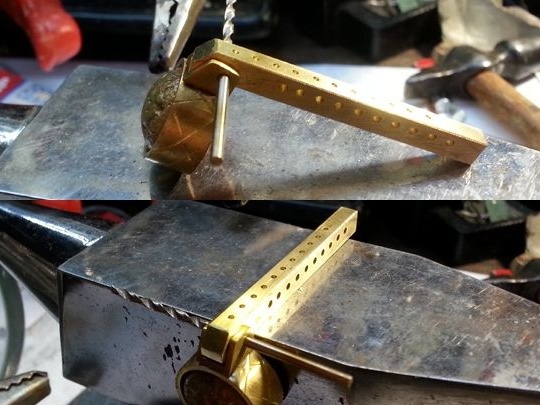
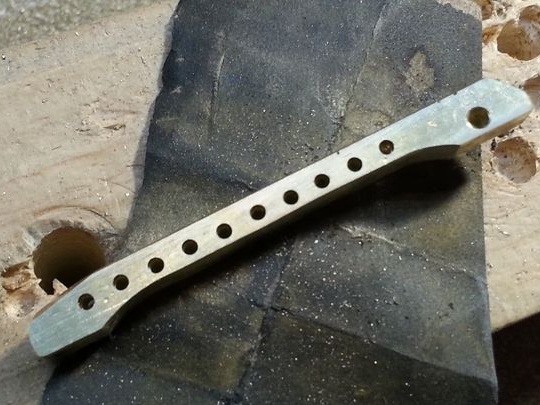
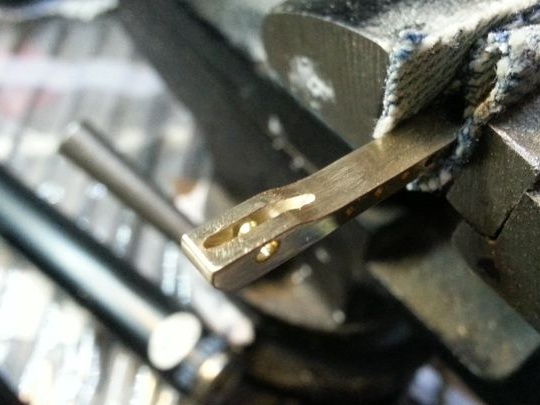
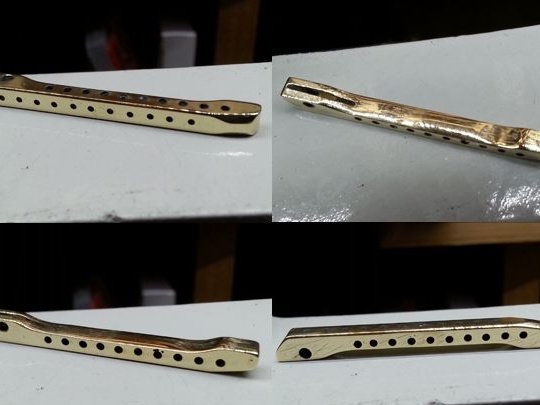
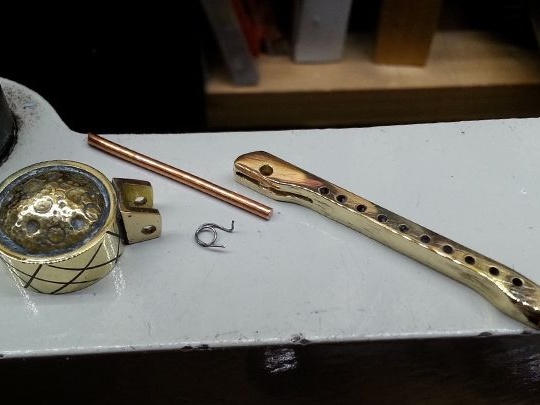
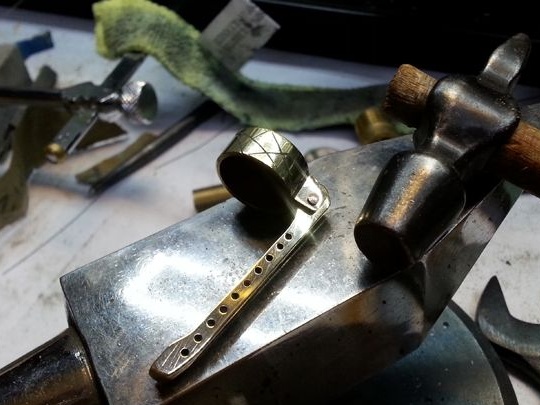
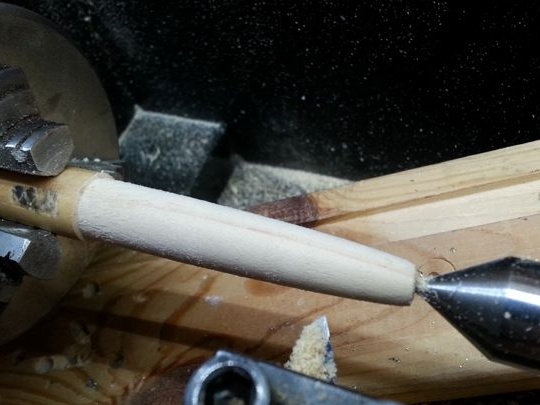
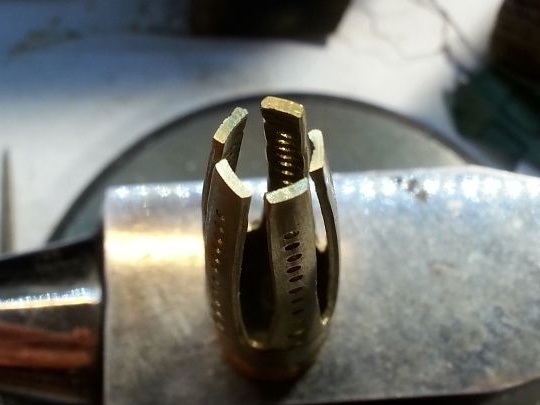
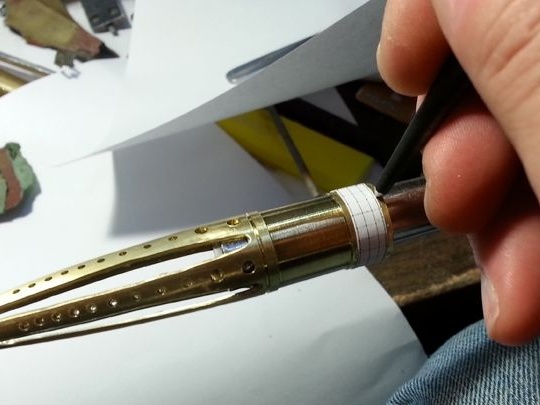
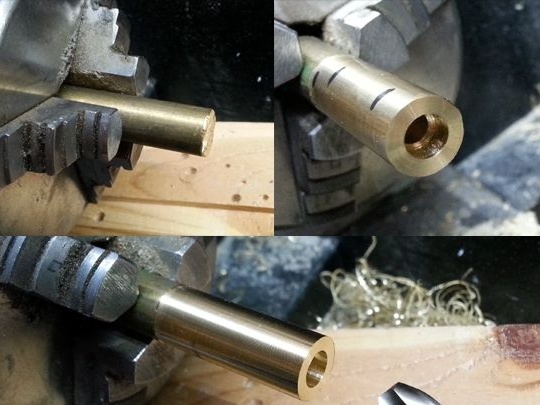
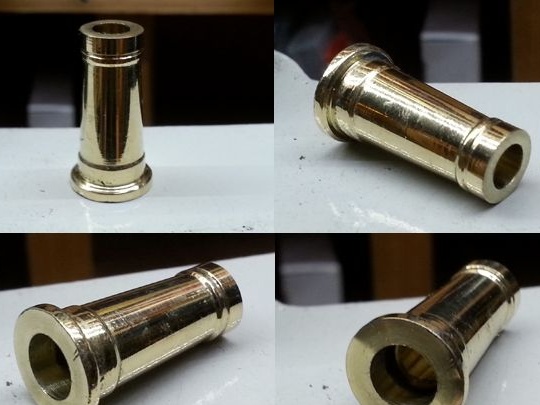
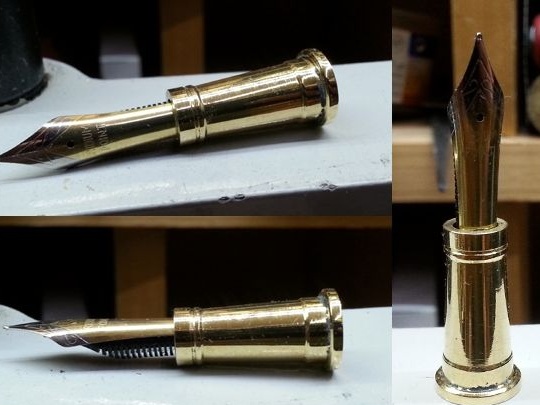
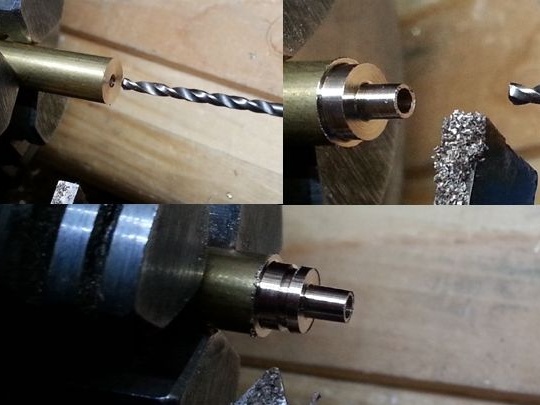
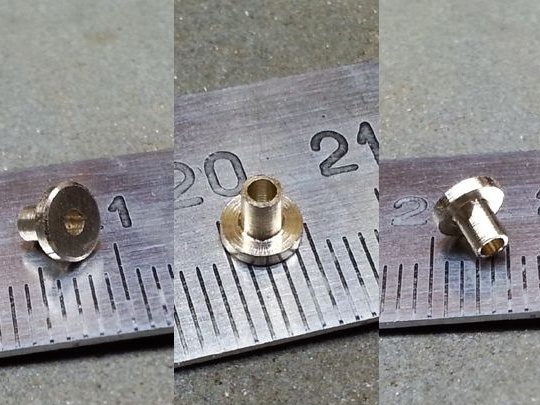
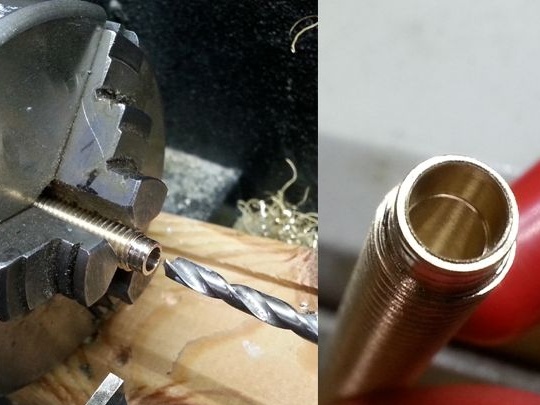
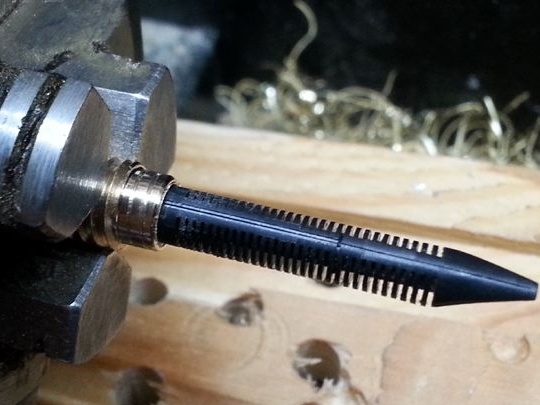
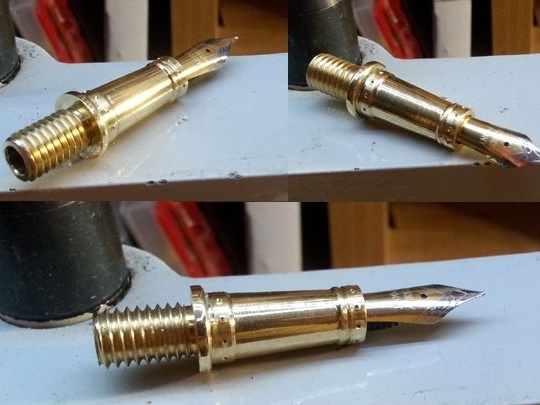
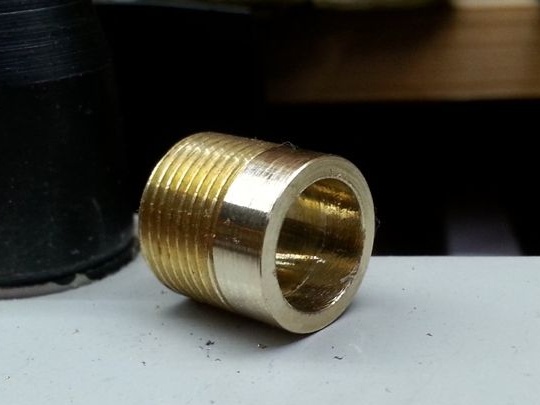
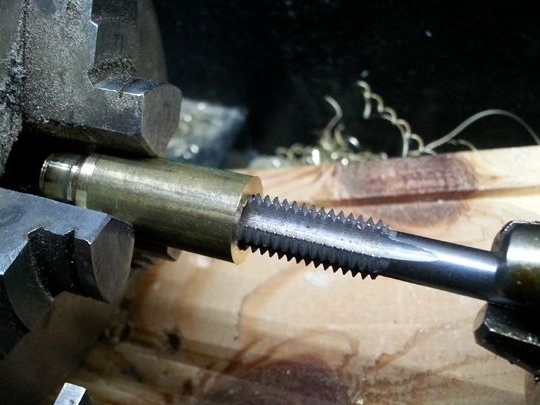
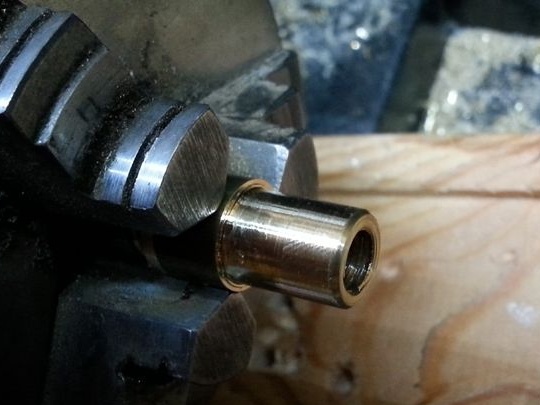
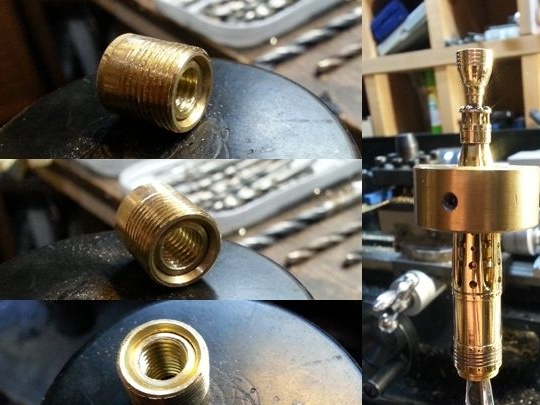
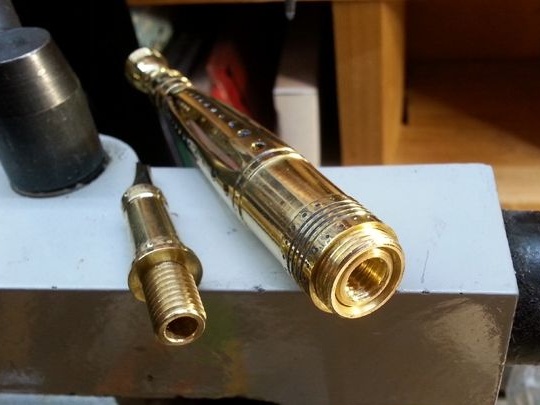
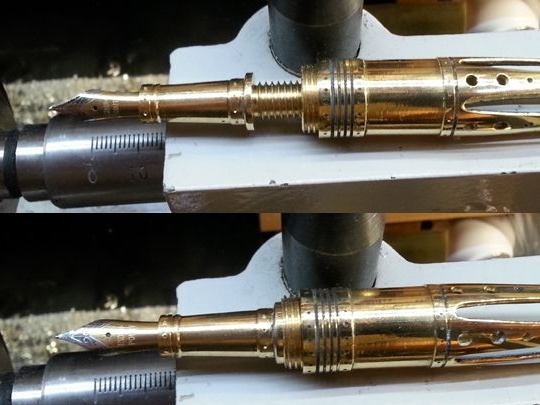
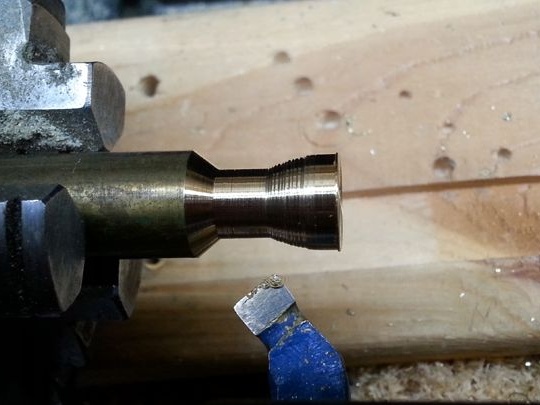
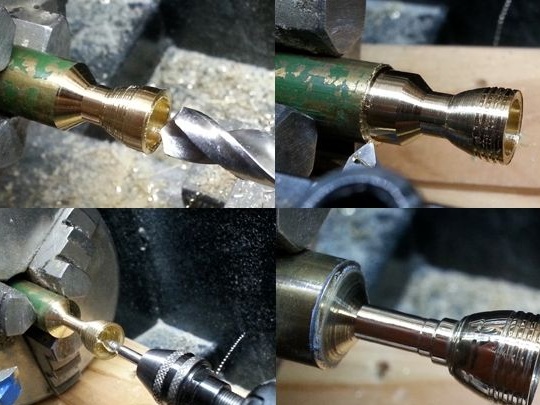
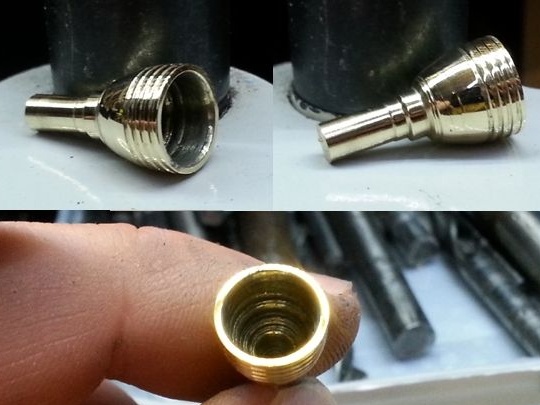
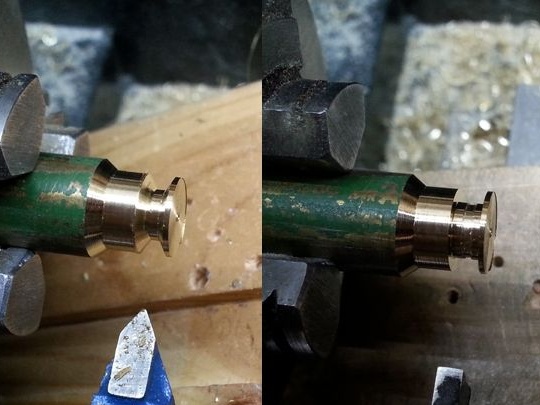
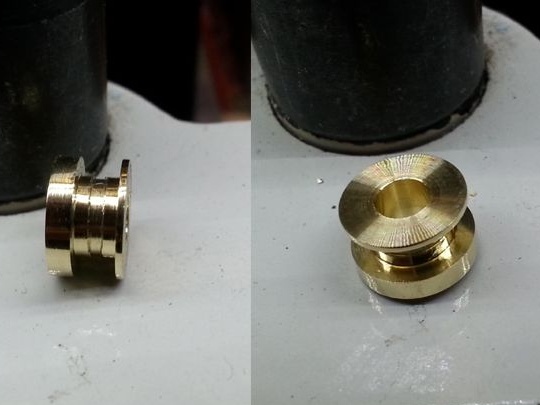
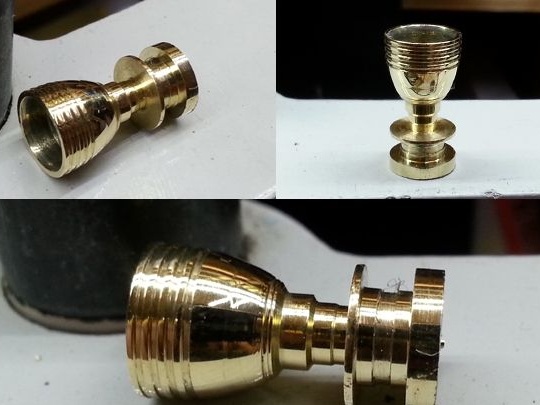
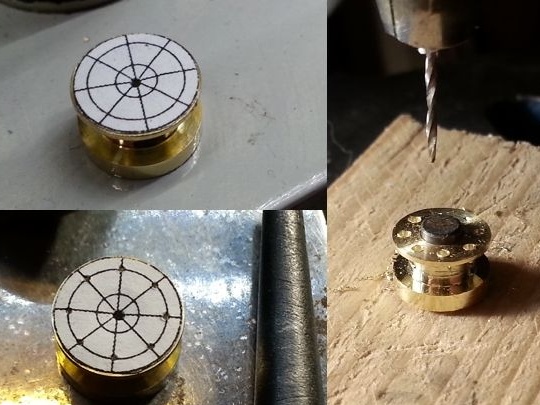
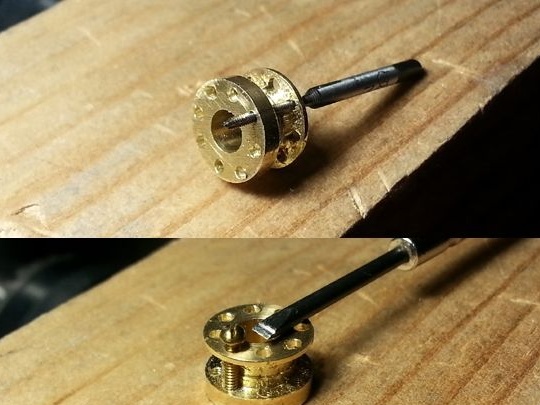
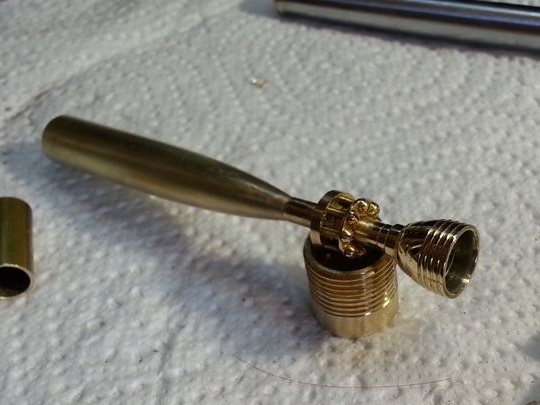
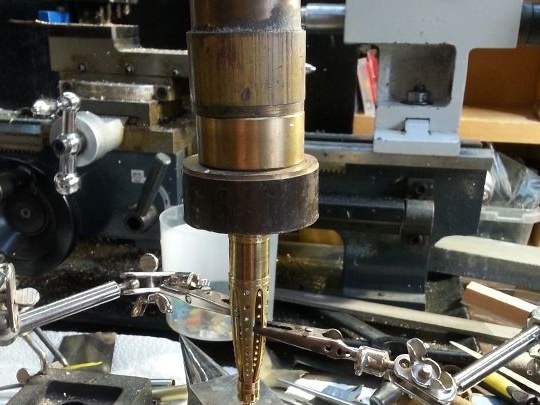
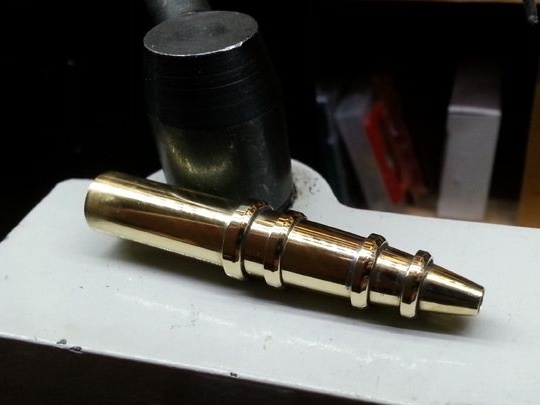
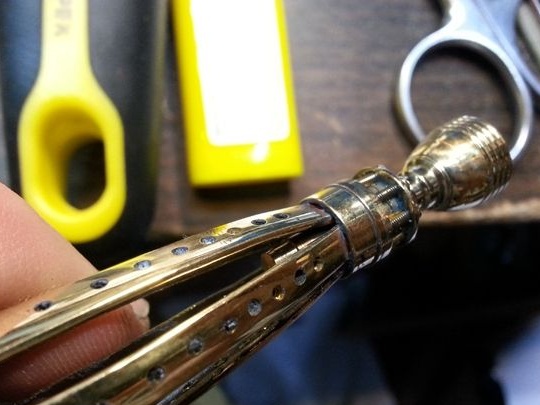
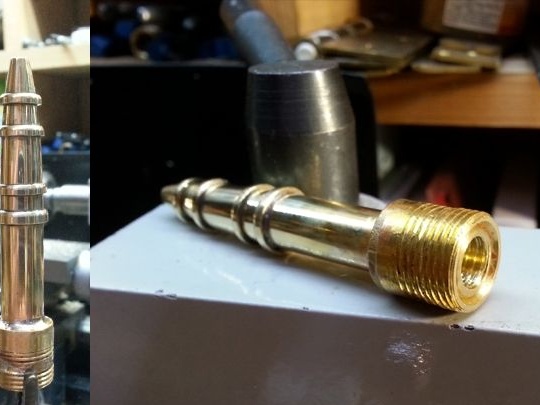
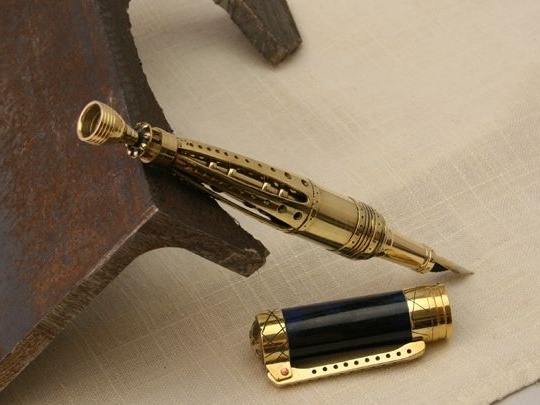
Pen holder.


This concludes the article. Thank you very much for your attention!
Come visit often, do not miss the latest in the world of homemade goods!
This article is for informational purposes only!